- Download Java FX and Scene builder from here.
- Extract Java FX in C:\Program Files\Java\
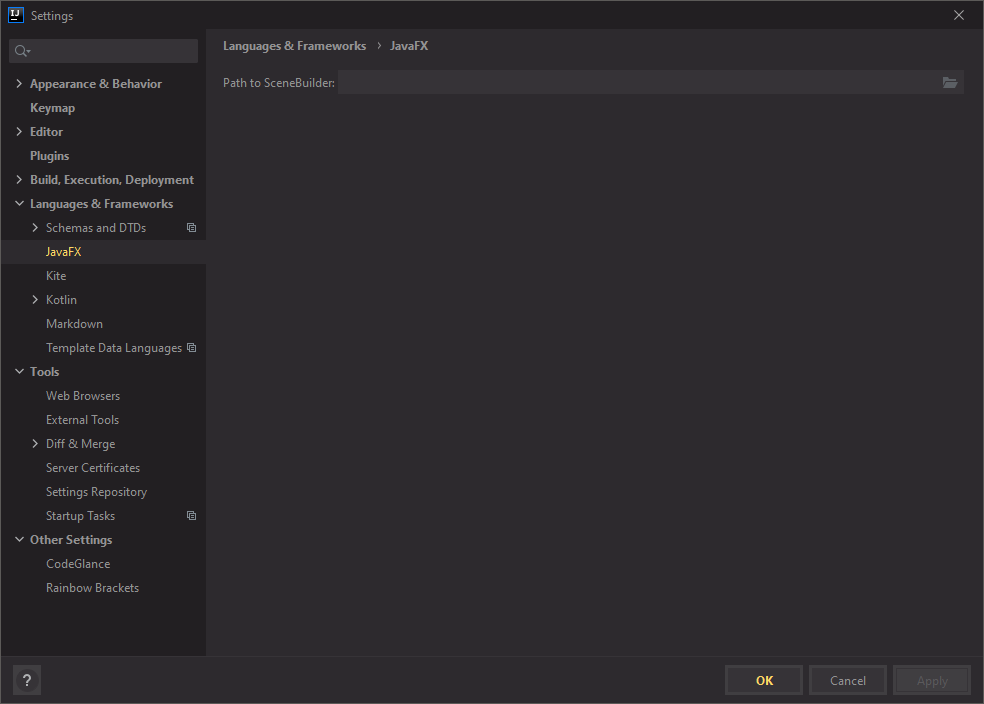
- Install Scenebuilder in default location.
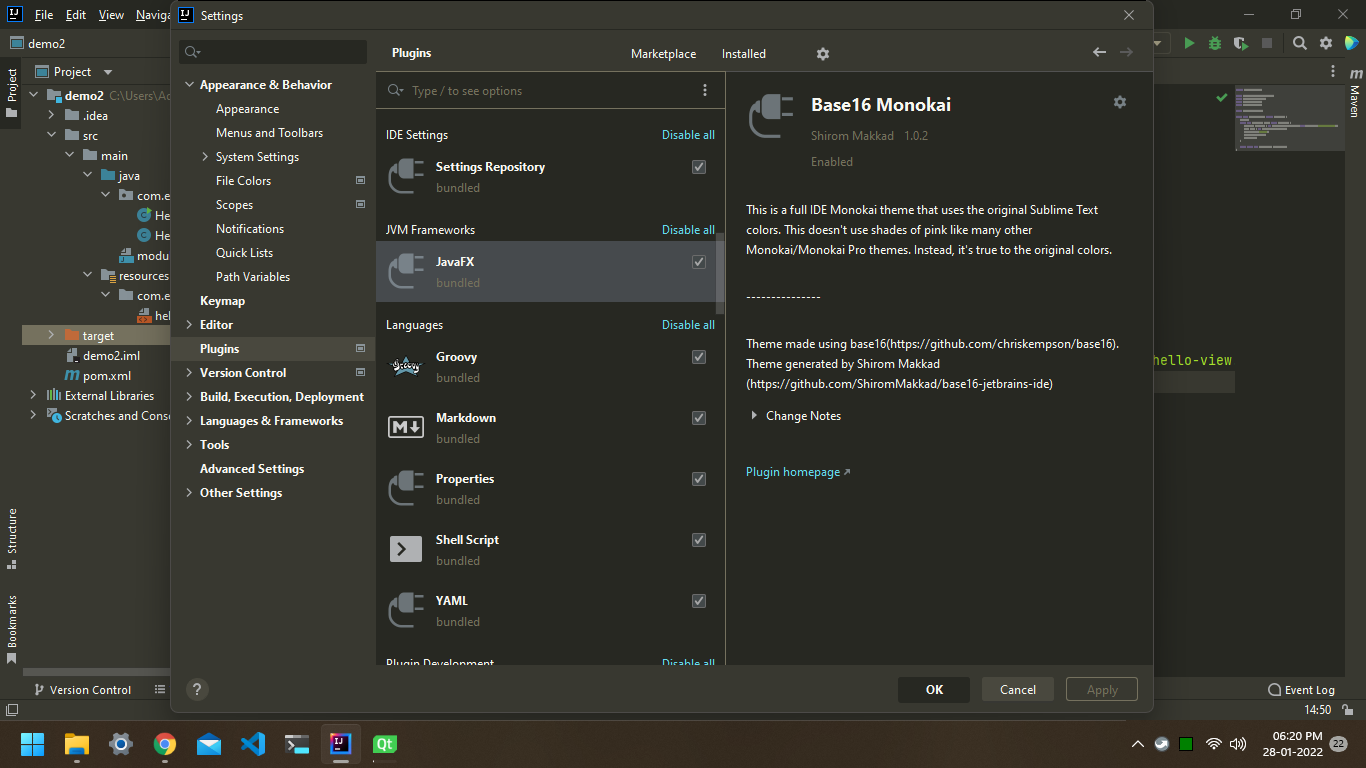
- In Intellij got to file->settings->plugins. Find, install and activate javafx plugins.
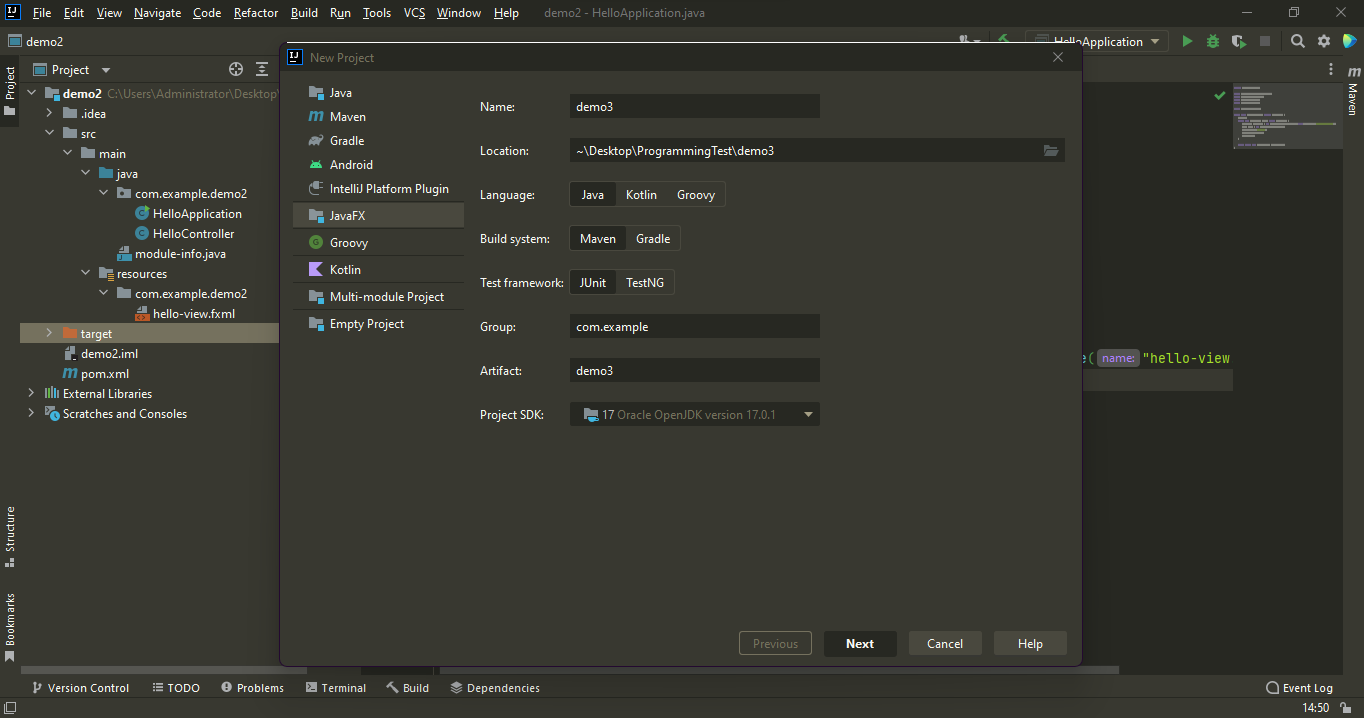
- Go to file->new->project choose javafx.
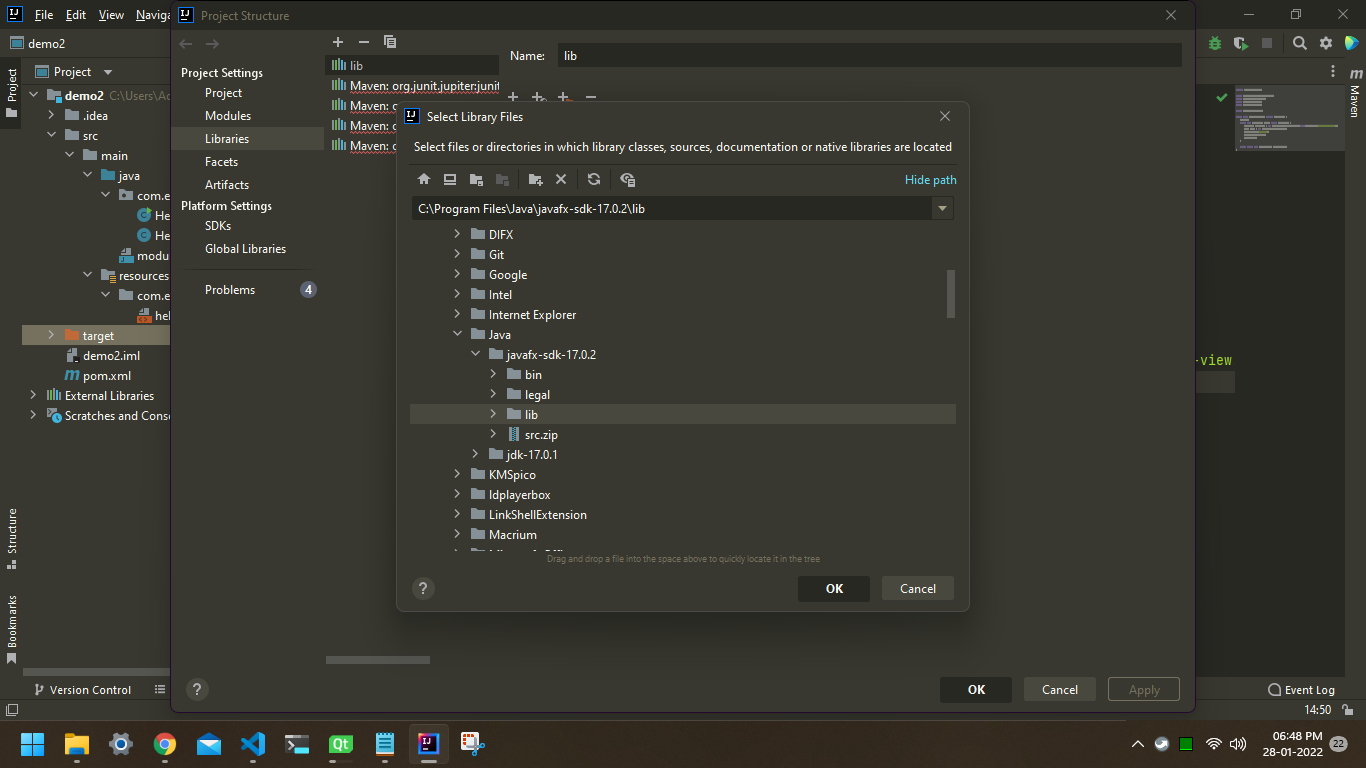
- Now we need to add javafx library into project. Go to file->project structures->libraries and add extracted javafx lib folder.
- From project pane right click hello-view.fxml file and choose open in scene builder.
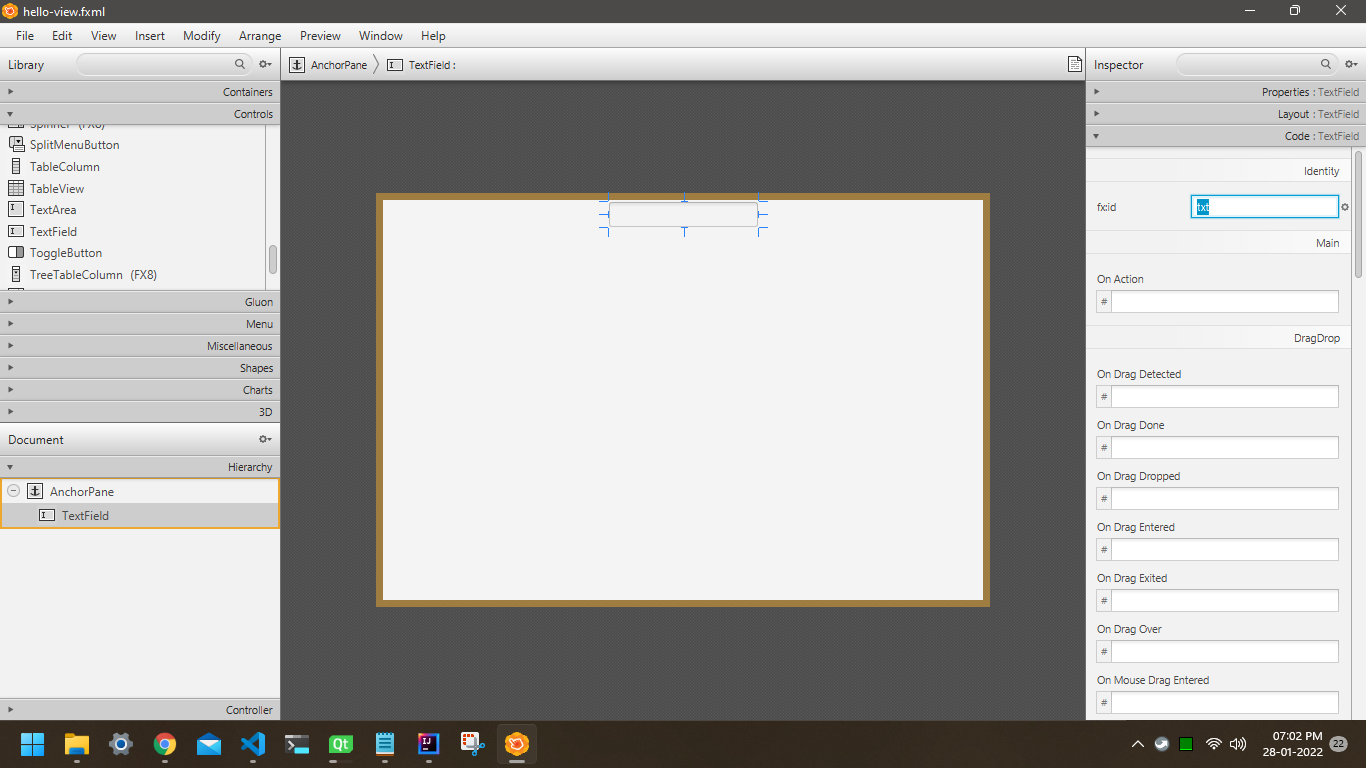
- In scene builder, delete existing nodes in hierarchy library and add anchorpane. From control choose textfield. Give it a id ‘txt’.
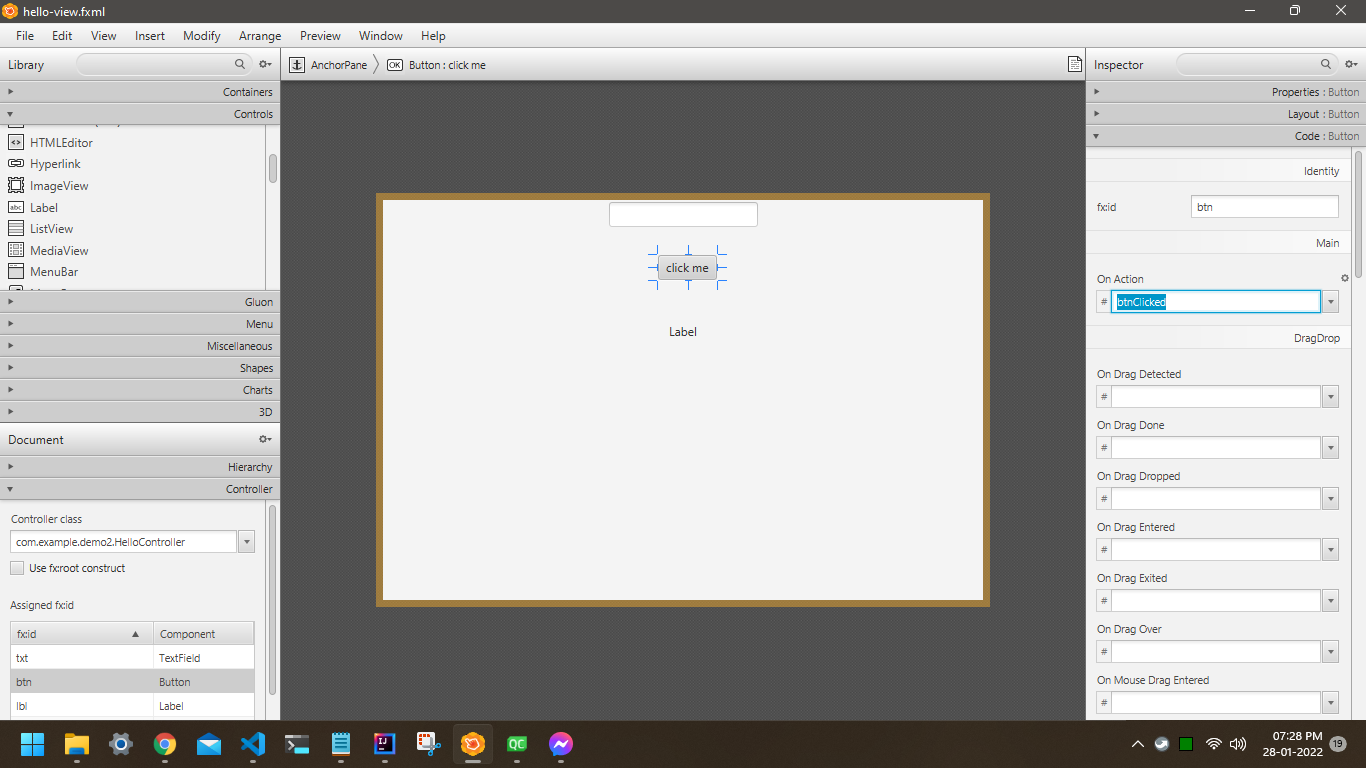
- Add a button, set id ‘btn’. set ‘btnClicked’ in ‘on action’ field.
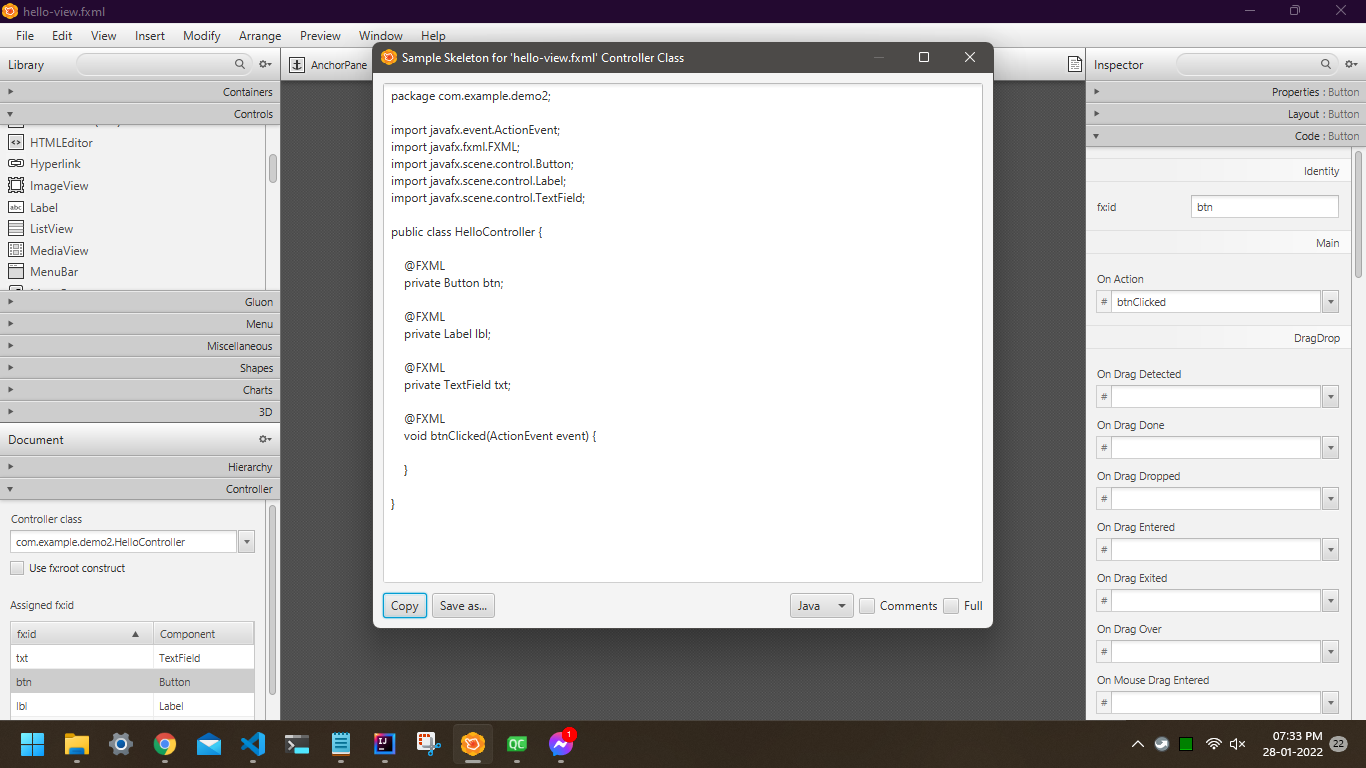
- In scenebuilder go to view->’show sample Controller Skeleton’ and copy the code. Paste this code in controller class in intellij.
- In controller class, paste the following line in ‘tncCicked()’ method.
   @FXML
    void btncCicked(ActionEvent event) {

        String tittle = txt.getText();
        lbl.setText(tittle);
    }
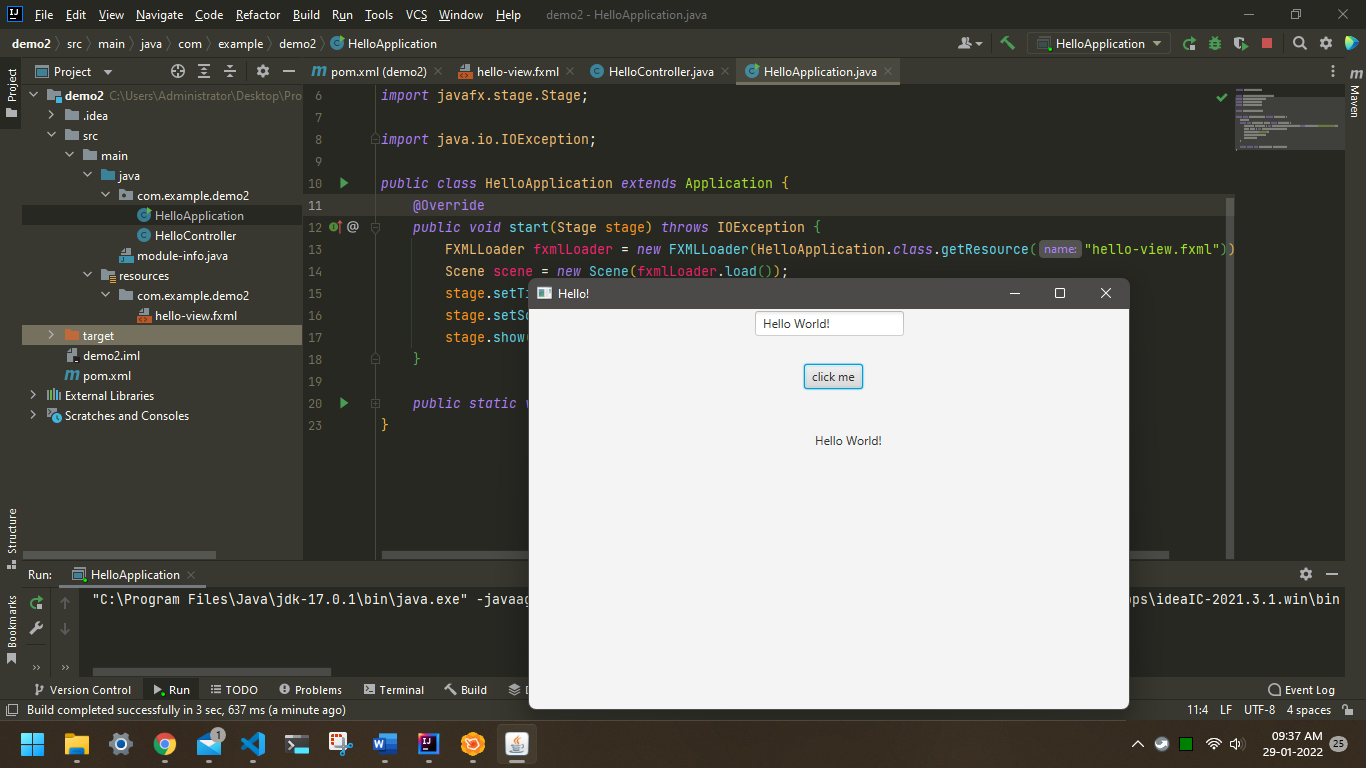
- Run the program by clicking the play button beside ‘HelloApplication()’ function. Write something in the text field and click the button, the label will change!
NEXTPerceptron