Your own blog can help you to develop your personal brand. You can easily use github.io pages to setup a free blog.
Setup on server
-
First you need an github account. If you dont have, go to github and create one and log in with your account.
-
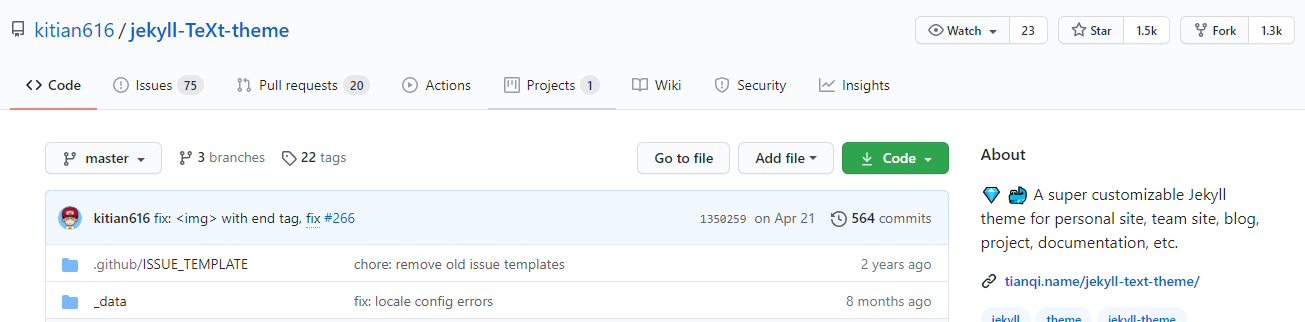
For a ready-made blog setup, choose from existing jekyll themes.
-
Fork the theme.
-
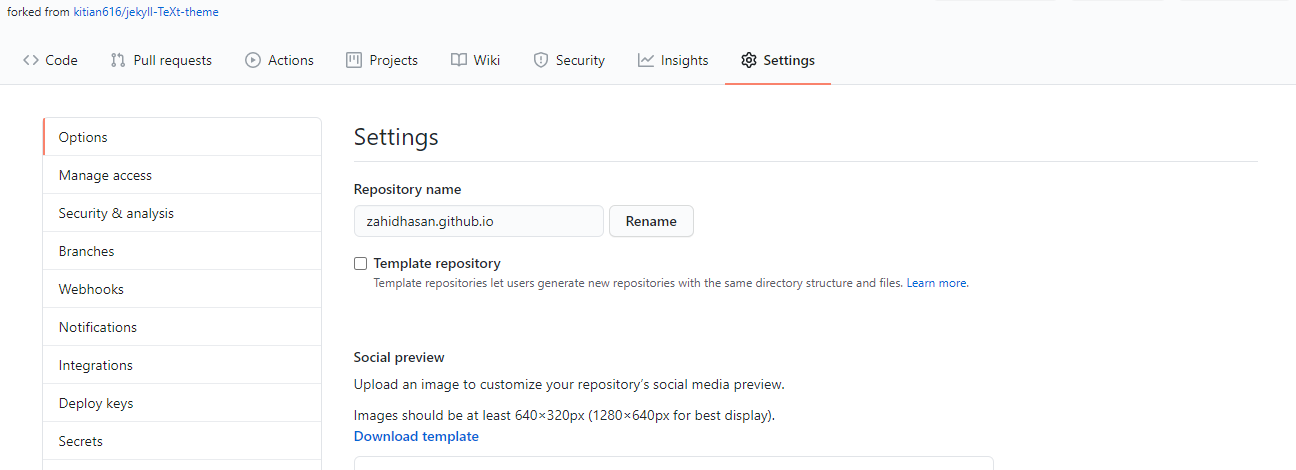
Rename it according to: username.github.io
After a few seconds your blog should be visible at: username.github.io
You can edit your blog from the web (github.com) or you can edit it in your local machine and then push it into github.com.
Setup on PC (Windows)
-
download and install git here.
-
download and install rubyinstaller here. Make sure to check
Run the ridk installat the last step. -
Install Jekyll and Bundler using
gem install github-pages -
Check if Jekyll has been installed properly:
jekyll -v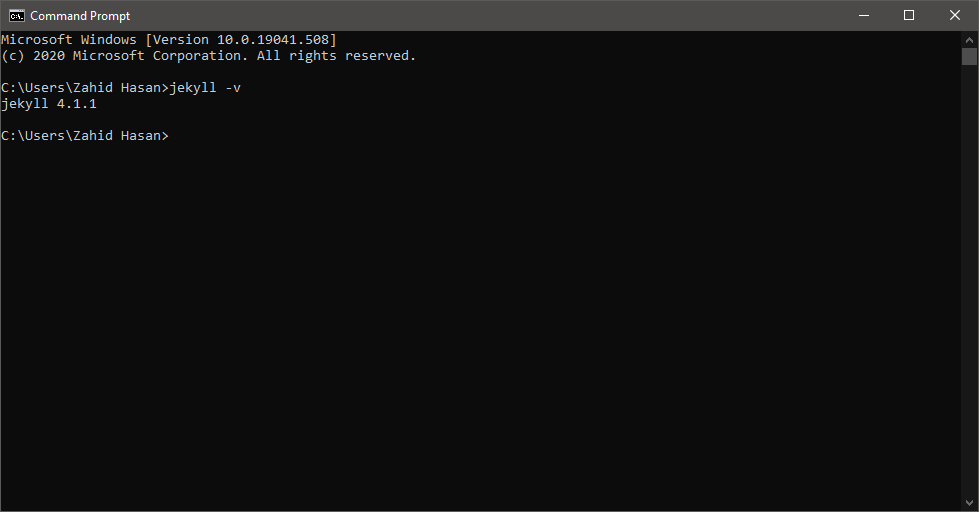
-
Clone your newly created blog
git clone https://github.com/yourusername/yourusername.github.io.git -
add the following to your Gemfile
source "https://rubygems.org" gem "github-pages", group: :jekyll_plugins -
Serve the site and watch for markup/sass changes
jekyll serve or bundle exec jekyll serve -
View your website at http://127.0.0.1:4000/
-
Commit any changes and push everything to the master branch of your GitHub user repository. GitHub Pages will then rebuild and serve your website.
Setup on PC (Linux)
Troubleshooting
-
if you get error like
gem not found, then rungem update bundle config set path 'vendor/cache' or bundle install --path vendor/cache bundle install -
if time errors occur, then add the following in the gem file
gem 'tzinfo-data', platforms: [:mingw, :mswin, :x64_mingw]
bundle update